Friday, July 31, 2009

Stereo Microscope for Measuring


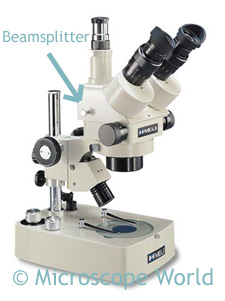
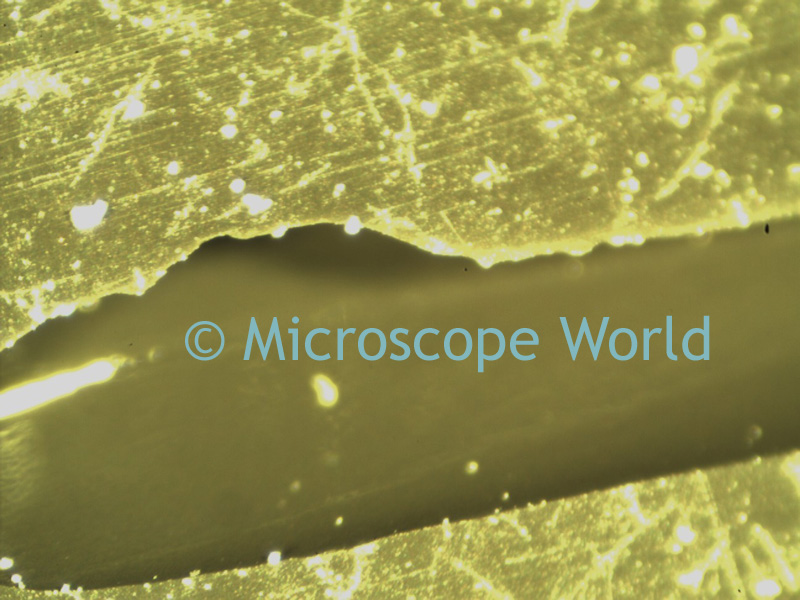
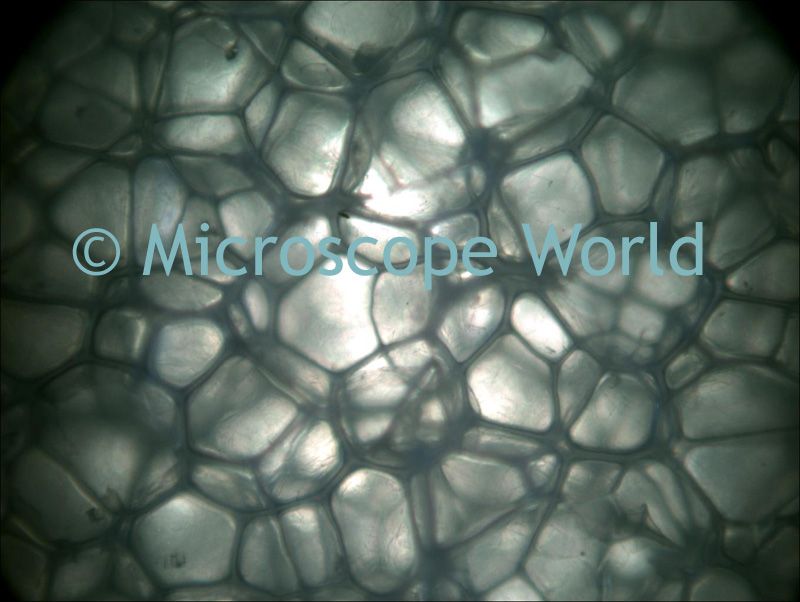
These images of industrial foam were captured using the Meiji EMZ-5 stereo microscope with light shining up through the foam from beneath the stage. The Meiji PBH stand allowed us to utilize the bottom light only to back-light the foam.


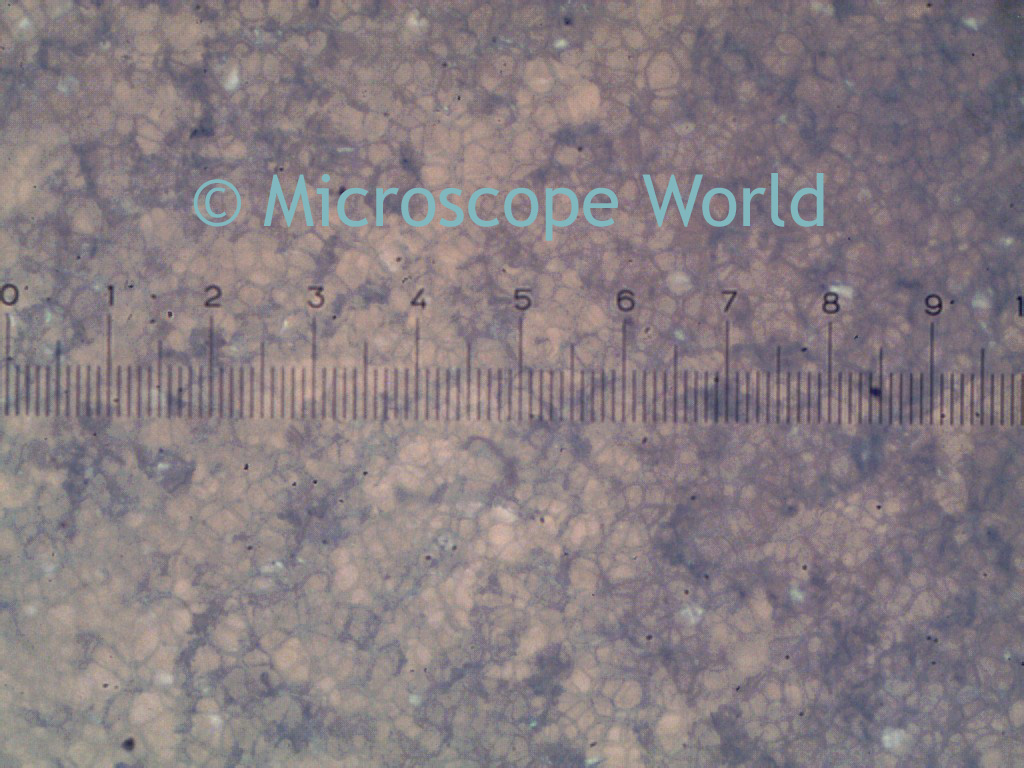
This coarser foam was captured using the Moticam MC2000 camera. The camera was placed over the eyepiece, which had a measuring reticle installed in it. This reticle was used in order to capture each image with the ruler imposed on it. Although the software that is included with the camera will make measurements, we wanted to have the ruler automatically placed upon each captured image.

Thursday, July 30, 2009

Freshwater Hydra

This image is of hydra, budding for reproduction. The image was captured using a Nikon camera adapter courtesy of Mark Simmons. Hydras are predatory animals belonging to the phylum Cnidaria and the class Hydrozoa. Hydra can be found in unpolluted fresh water ponds, lakes or streams. They are generally a few millimeters in length and are best viewed under a high power microscope. Biologists are often interested in the hydra's regenerative ability and because they appear to age very slowly.

Wednesday, July 29, 2009

Digital LCD Microscope

The Swift M10LB digital microscope is a great microscope for teaching or just ease of use. The microscope has a built-in 5 mega pixel camera. The 3" digital LCD screen shows a live image from the microscope. The press of a button allows you to capture and save this image. Downloading images is easy as well, just remove the memory card from the microscope and take it with you, or download to your computer.

The Swift M10 microscope is perfect for veterinarians, teachers and students.

Tuesday, July 28, 2009

Hair Under the Microscope

There are several instances when it may be important to view hair under a microscope. Hair transplant applications require the use of a stereo microscope. The image below shows a hair follicle technician using a Meiji stereo microscope to examine hair follicles.


To determine overall health of a single strand of a hair, a biological microscope can be used. The images below were captured with the National Optical 131-CLED student microscope and a Nikon camera.

Single strand of hair at 100x magnification.

Single strand of hair at 1000x magnification. Notice the lines within the strand of hair - you can see the healthy structure of the cells. An unhealthy strand of hair would have broken bits and pieces coming off the strand of hair.

Monday, July 27, 2009

Student Microscope

The National Optical 109-L student microscope is a great first microscope for kids! With all glass optics and heavy duty metal construction the microscope is rugged and durable. Magnifications of 40x, 100x and 400x provide a range of options for viewing specimens. The built-in illuminator is available as either a corded microscope (model 109-L) or cordless microscope with recharger (model 109-LED). Microscope World includes a free DVD, slide kit and access to a customers-only resource section of their website with printable worksheets and activities for kids.

Friday, July 24, 2009

Digital Stereo Microscope

The National Optical DC4-456H digital stereo microscope is great for viewing anything you might be able to hold in your hand, but wish to see in more detail. Coins, stamps and flowers are perfect examples. This microscope connects directly to the USB port on the computer and allows you to view a live image on your computer screen. You can capture and save images as well as motion video with this digital microscope.

This is a soda can tab,
captured with the DC4-456H at 10x magnification.

This is a leaf,
captured with the DC4-456H at 10x magnification.

Thursday, July 23, 2009

Microscope Beamsplitter

A microscope beamsplitter is a device on a trinocular microscope (a microscope with a camera port) that will direct light up the trinocular tube to the camera. There are several types of microscope beamsplitters. One type will darken one eyetube completely while directing that light to the camera. Another type will send 80% of the light up to the camera and only 20% to the eyepieces. And finally, some beamsplitters will make both eyepieces go dark and allow for full light up to the camera.

To engage a microscope beamsplitter simply pull the silver knob on the side of the microscope out. When finished capturing images, push the beamsplitter back in to redirect all light to the microscope eyepieces.

The microscope shown above is the Meiji Stereo EMZ-5TR on a PBH stand.

Wednesday, July 22, 2009

Spider Under Microscope

This spider image was captured using the National Optical DM52 student microscope at 40x magnification.

The DM52 digital student microscope allows you to connect the microscope directly to your computer, view a live image on your computer monitor and capture and save images. The included software will even allow you to make measurements of the images captured. Students can create their own computer photo album with all the scientific specimens they collect over time.

Tuesday, July 21, 2009

Moon Rocks under a Microscope

The images below are rocks that were brought back from the moon. They were viewed under the National Optical DC5-420T digital stereo microscope. The images were captured with the built-in camera at 40x magnification.

This is Breccia, a rock that is made up of angular fragments of minerals. Breccia rocks have many different origins including sediment, tectonic, igneous (formed by magma), impact and hydrothermal. This Breccia rock from the moon was probably an igneous Breccia.

This moon rock is Anorthosite, an igneous rock characterized by a predominance of plagioclase feldspars (minerals), and a minimal mafic component. Mafic refers to a rock that is rich in magnesium or iron.

Friday, July 17, 2009

Microscope Filters

Microscope filters are available as a mounted or unmounted filters. Green filters are often placed in the light path to improve the performance of achromat and planachromat objectives. When using phase contrast the best images are often produced in green light.


Daylight blue filters produce a desirable background to balance out the brightness of the light. The blue microscope filter is often used with microscopes that have a halogen light in them, as the halogen light tends to have a more yellow hue than other illuminators. It should be noted that the daylight blue filter was not created for photomicrography.

When using a filter that is not already mounted, the filter is most often placed over the transmitted light source. Before purchasing a microscope filter you will want to measure the diameter (in mm) of the light source to ensure that the filter will fit on top of it. Some microscopes have a filter holder, and if this is the case, measure the diameter of the microscope filter holder.

Thursday, July 16, 2009

Antique Microscope Stamps

These postage stamps were released in Germany depicting four antique microscopes. At the time, advancements in microscopy were essential to the early study and understanding of infectious diseases. The stamps are marked DDR (Deutsche Demokratische Republik), formerly known as East Germany.

Microscopes are still used today to study infectious (or contagious) diseases. The biological microscopes used today are a bit more advanced than the antique microscopes, but have some of the same features. One major change from antique microscopes to modern microscopes, is the use of an illuminator rather than a mirror for illuminating the specimen.

If you are looking for a microscope for viewing stamps, these microscopes are good places to start. Viewing stamps through a microscope is best performed with a stereo or low powered microscope.

Monday, July 6, 2009

Microscope Depth of Field

Microscope depth of field is measured from above and below the focus plane that provides an acceptably in-focus image. The lower magnifications tend to have a larger depth of field. Additionally, a higher numerical aperture will have a shallower depth of field.


The image above is a good example of varying depths of field. The metal under the microscope has an indented strip (where the Microscope World text is in the image) that is not in focus. This is because it is out of the range of the in-focus depth of field. If you were to change the focus on the microscope so the darker strip was in focus, then the outer edges would become out of focus.