
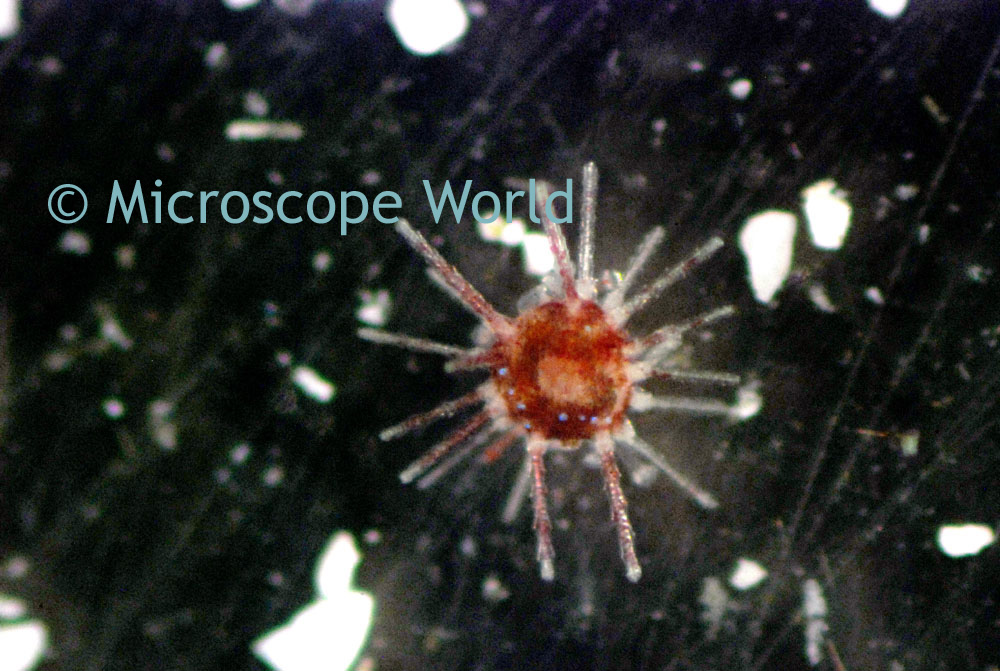
 Image courtesy of Martin Moe.
This image was captured using the Meiji EMZ-13TR stereo zoom microscope along with the Nikon D80 camera adapter.
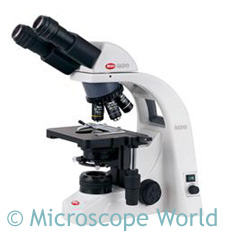
Image courtesy of Martin Moe. The National Optical 109L microscope is shown below with both coarse and fine focusing. The fine focusing knob makes it easier to really fine-tune the focusing at the higher magnification of 400x.
 The coarse focusing knob typically moves either the body tube or the stage up and down. A good quality coarse focus should provide smooth movement. Additionally, it is best to use a microscope with rack and pinion focusing mechanisms. The pinion is a toothed wheel that moves along a grooved bar or "rack" which is attached to the stage or body tube. You can learn more about rack and pinion focusing mechanisms here.
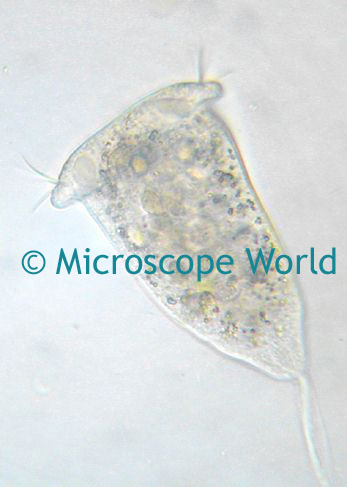 Vorticella is a genus of protozoa, with multiple species. Vorticella live primarily in fresh water streams and ponds. You may be able to locate some in a fresh water stream near your house and look at it under your microscope. Vorticella are most commonly viewed at 400x magnification. Vorticella often stay in clusters, so when looking through the microscope you may notice them grouped together in your field of view. The Protozoan Video, "In the Eye of the Needle" discusses Vorticella in more detail, as well as the Teacher Handbook on Protozoans.
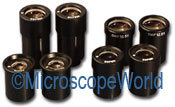 Meiji stereo microscope eyepieces are shown above.
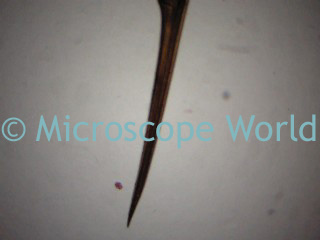 40x magnification
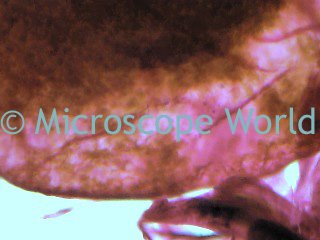 100x magnification
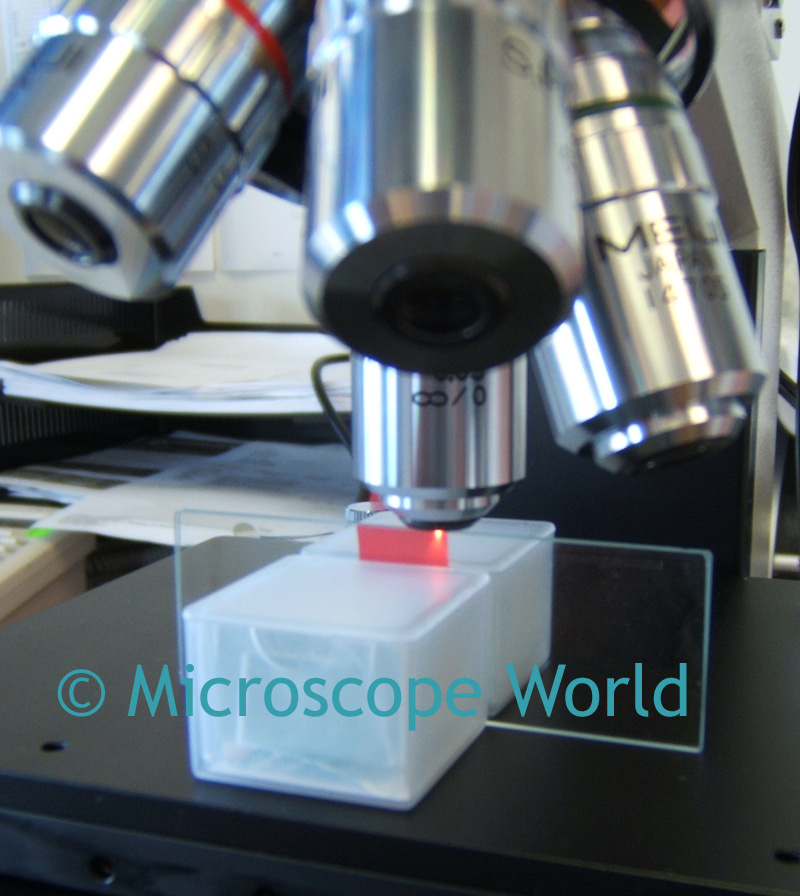 The thin piece of plastic was placed between two slides to hold it vertical beneath the MT7100 metallurgical microscope. The Moticam MC2300 camera was mounted on the trinocular port with a 1.0 c-mount. The microscope magnification was 400x, but because the setup involved a camera with a 1/2" chip and a 1.0 magnification c-mount, the camera's effective magnification was closer to 700-800x.
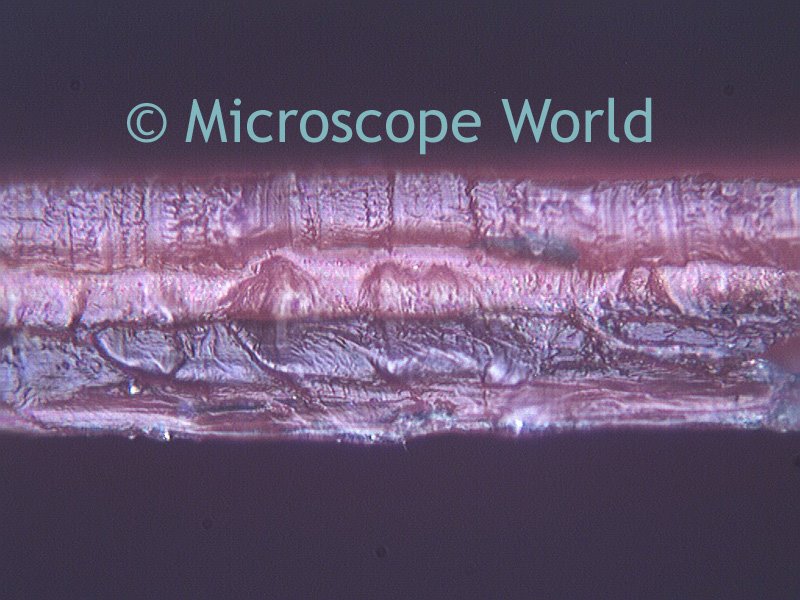
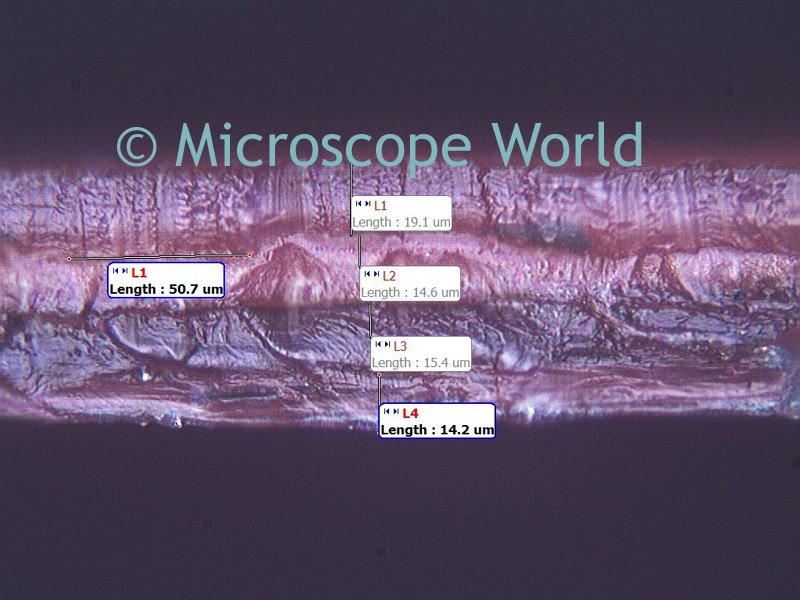 This image shows the four different layers of plastic along with their corresponding measurements in microns. The ability to quickly capture an image, make measurements and determine if a layer was the correct thickness allowed this customer to maintain quality control on their production process.
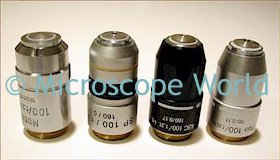 If you are using a dry objective (one that has not been used with immersion oil), you should be able to clean the objective with lens paper or a kimwipe without using any solutions.
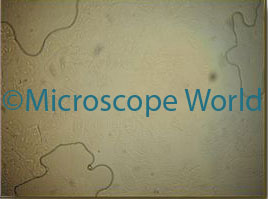 This first image was captured with standard brightfield.
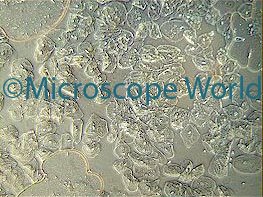 This image was captured using phase contrast.
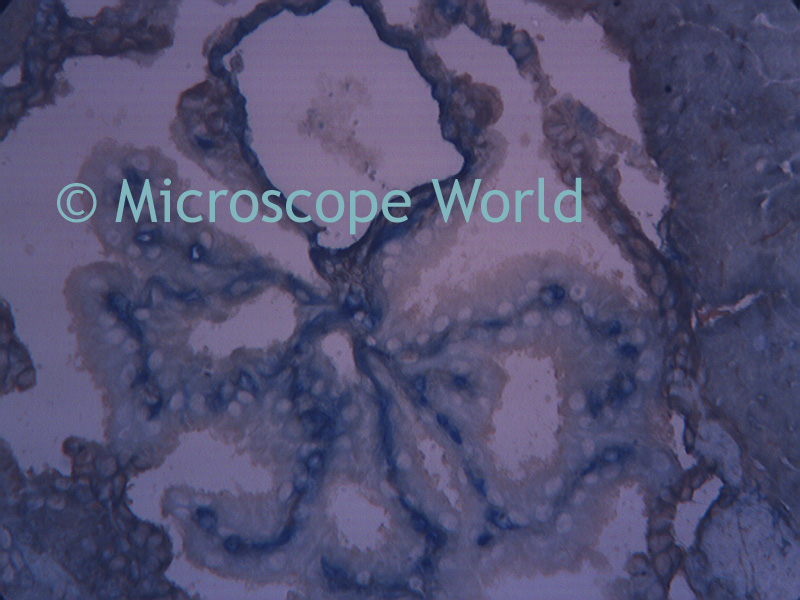
 Captured at 100x magnification, this image is a bone marrow smear from a patient with chronic myelogenous leukemia.
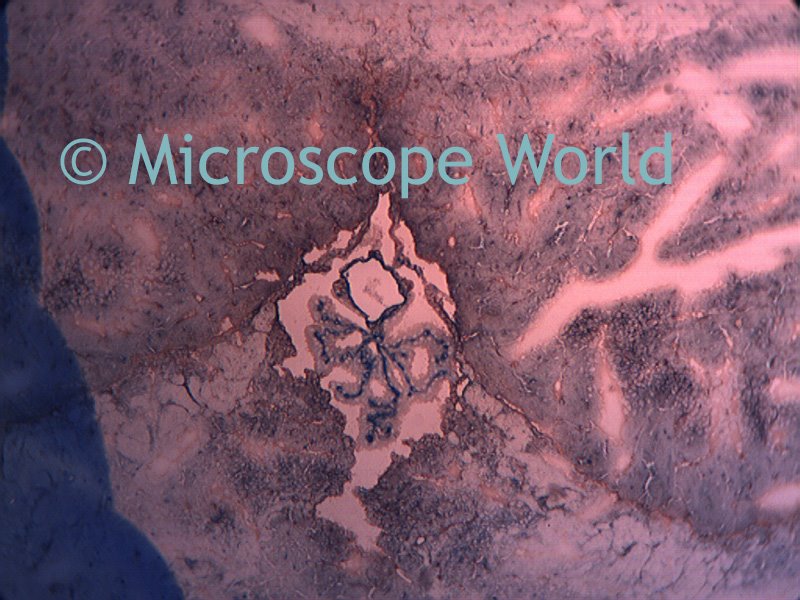
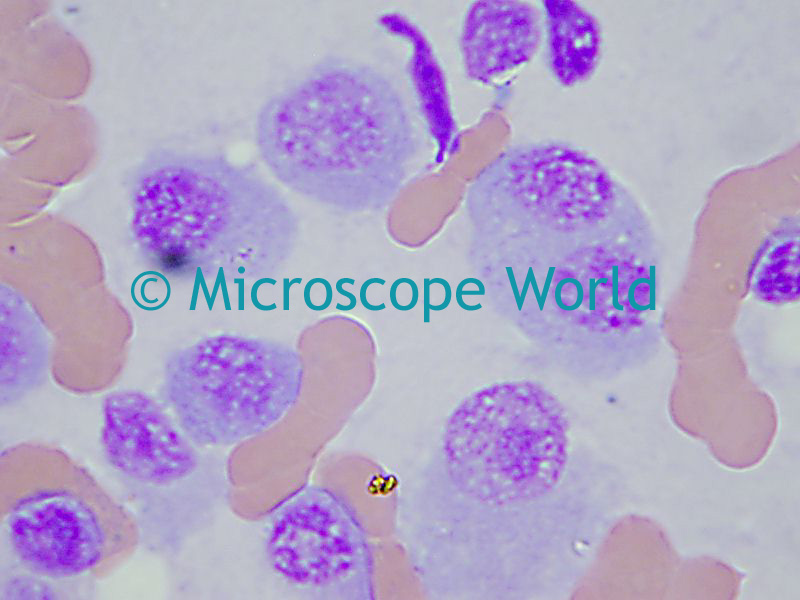 Captured at 1000x magnification, this image is a bone marrow smear of a myeloma case. You may noticed the binucleated plasmacyte, partly covered by the word "World".
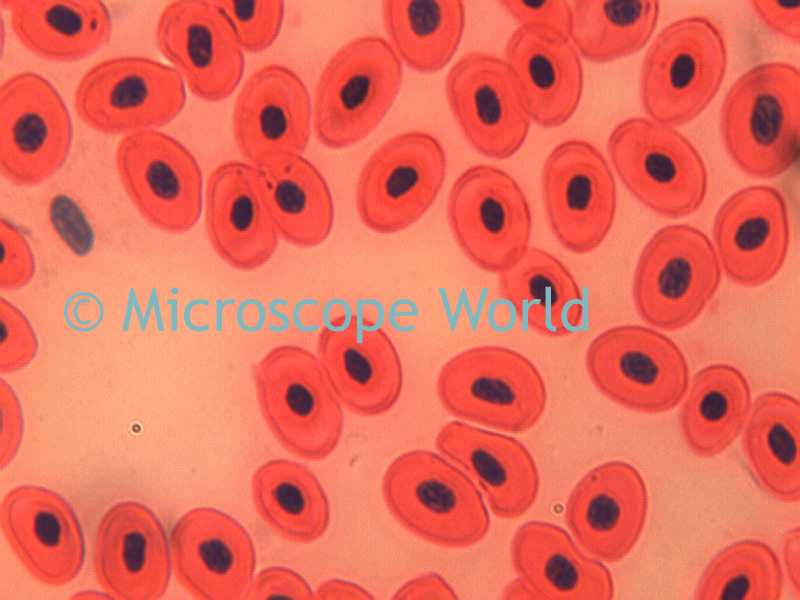
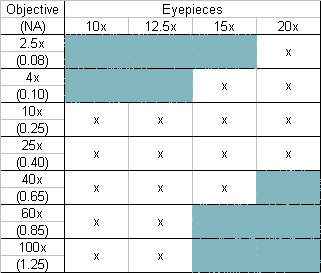 Empty magnification is the result of an objective + eyepiece combination that falls outside the realm of optical magnification (see the blue boxes in the chart above). Once magnification rises above the optical magnification there is a bit of added magnification, but the image resolution deteriorates and may almost appear to be out of focus. This is "empty magnification" and will not allow you to view fine details in your specimens.
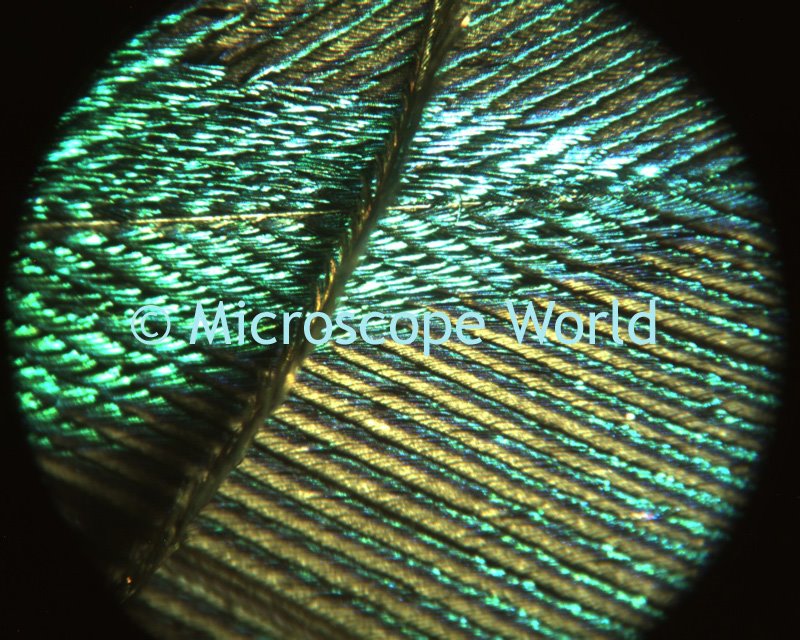 This image of a peacock feather was captured with the Moticam 2000 camera under a stereo microscope at about 20x magnification.
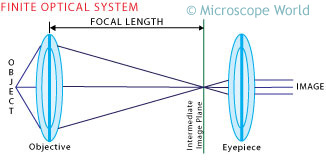 You can learn more about focal length as well as finite and infinity corrected optics here.
 Images captured with a Meiji Biological microscope and the MC2000 moticam camera.
 When used in light microscopy, oil immersion is a technique used to increase the resolution at higher magnifications. Immersion oil should only be used with oil immersion objectives.
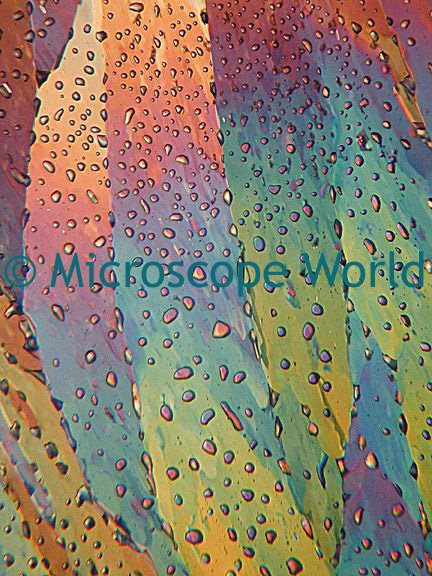 This is a polarized light image of resorcinol at 400x magnification, courtesy of Mark Simmons. Polarized light microscopy is used primarily to view crystals, minerals, geological specimens and chemicals.